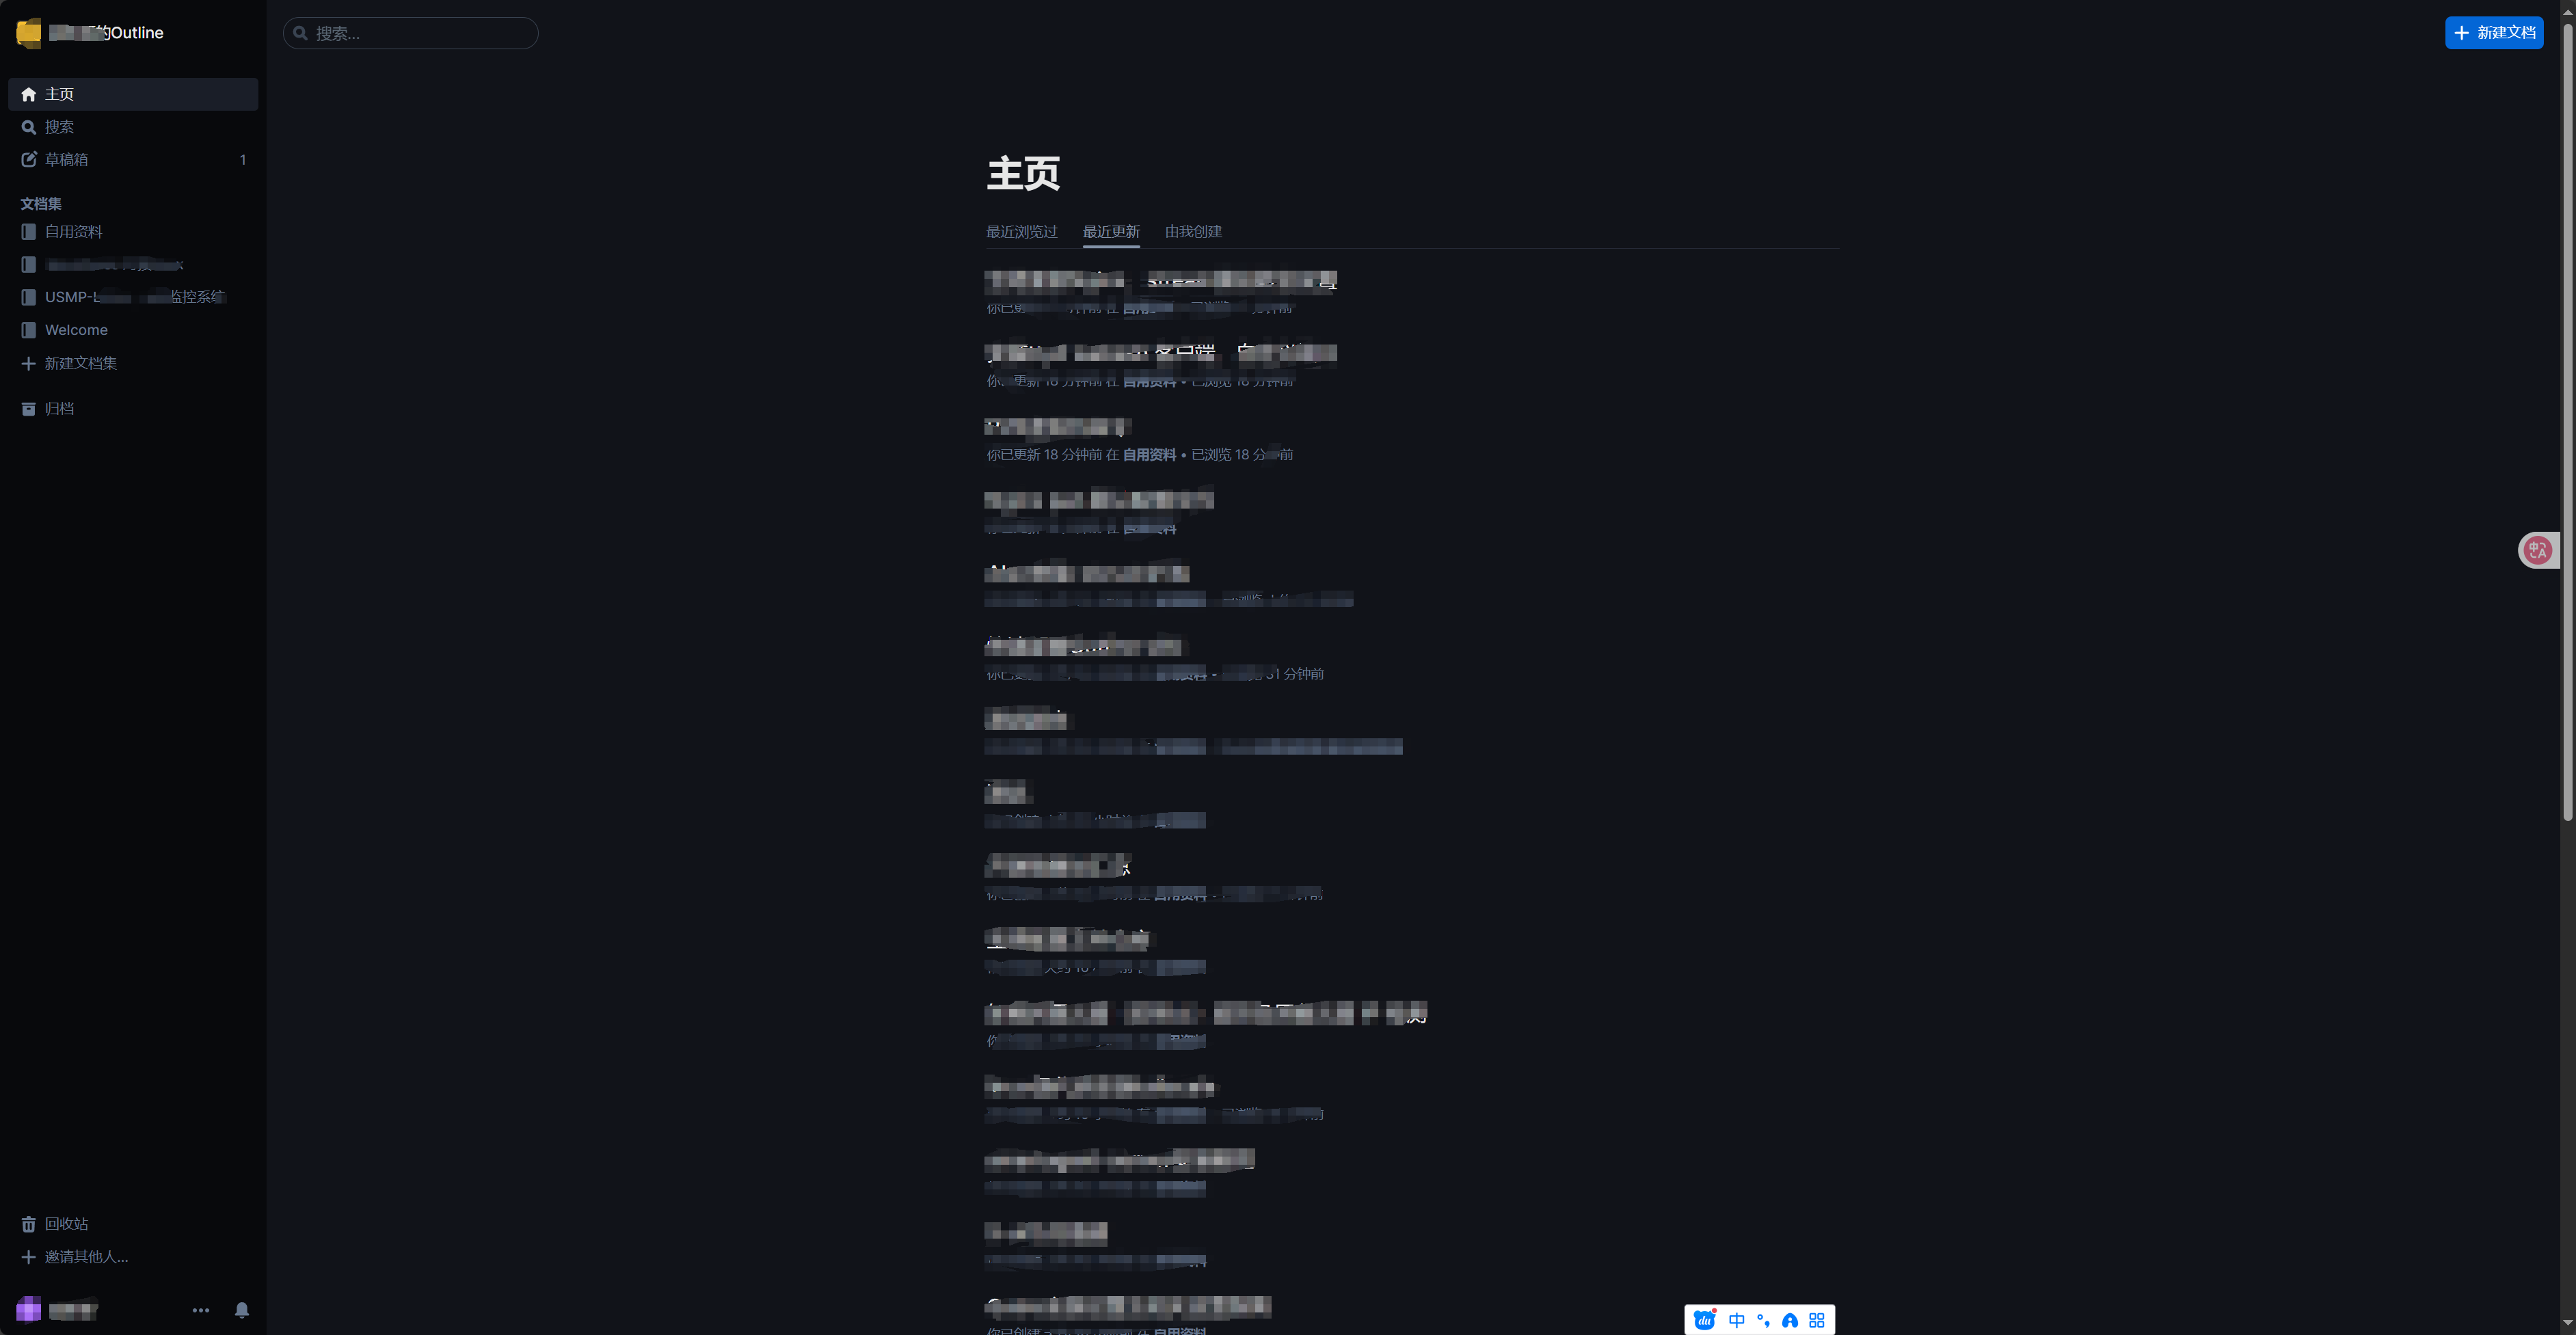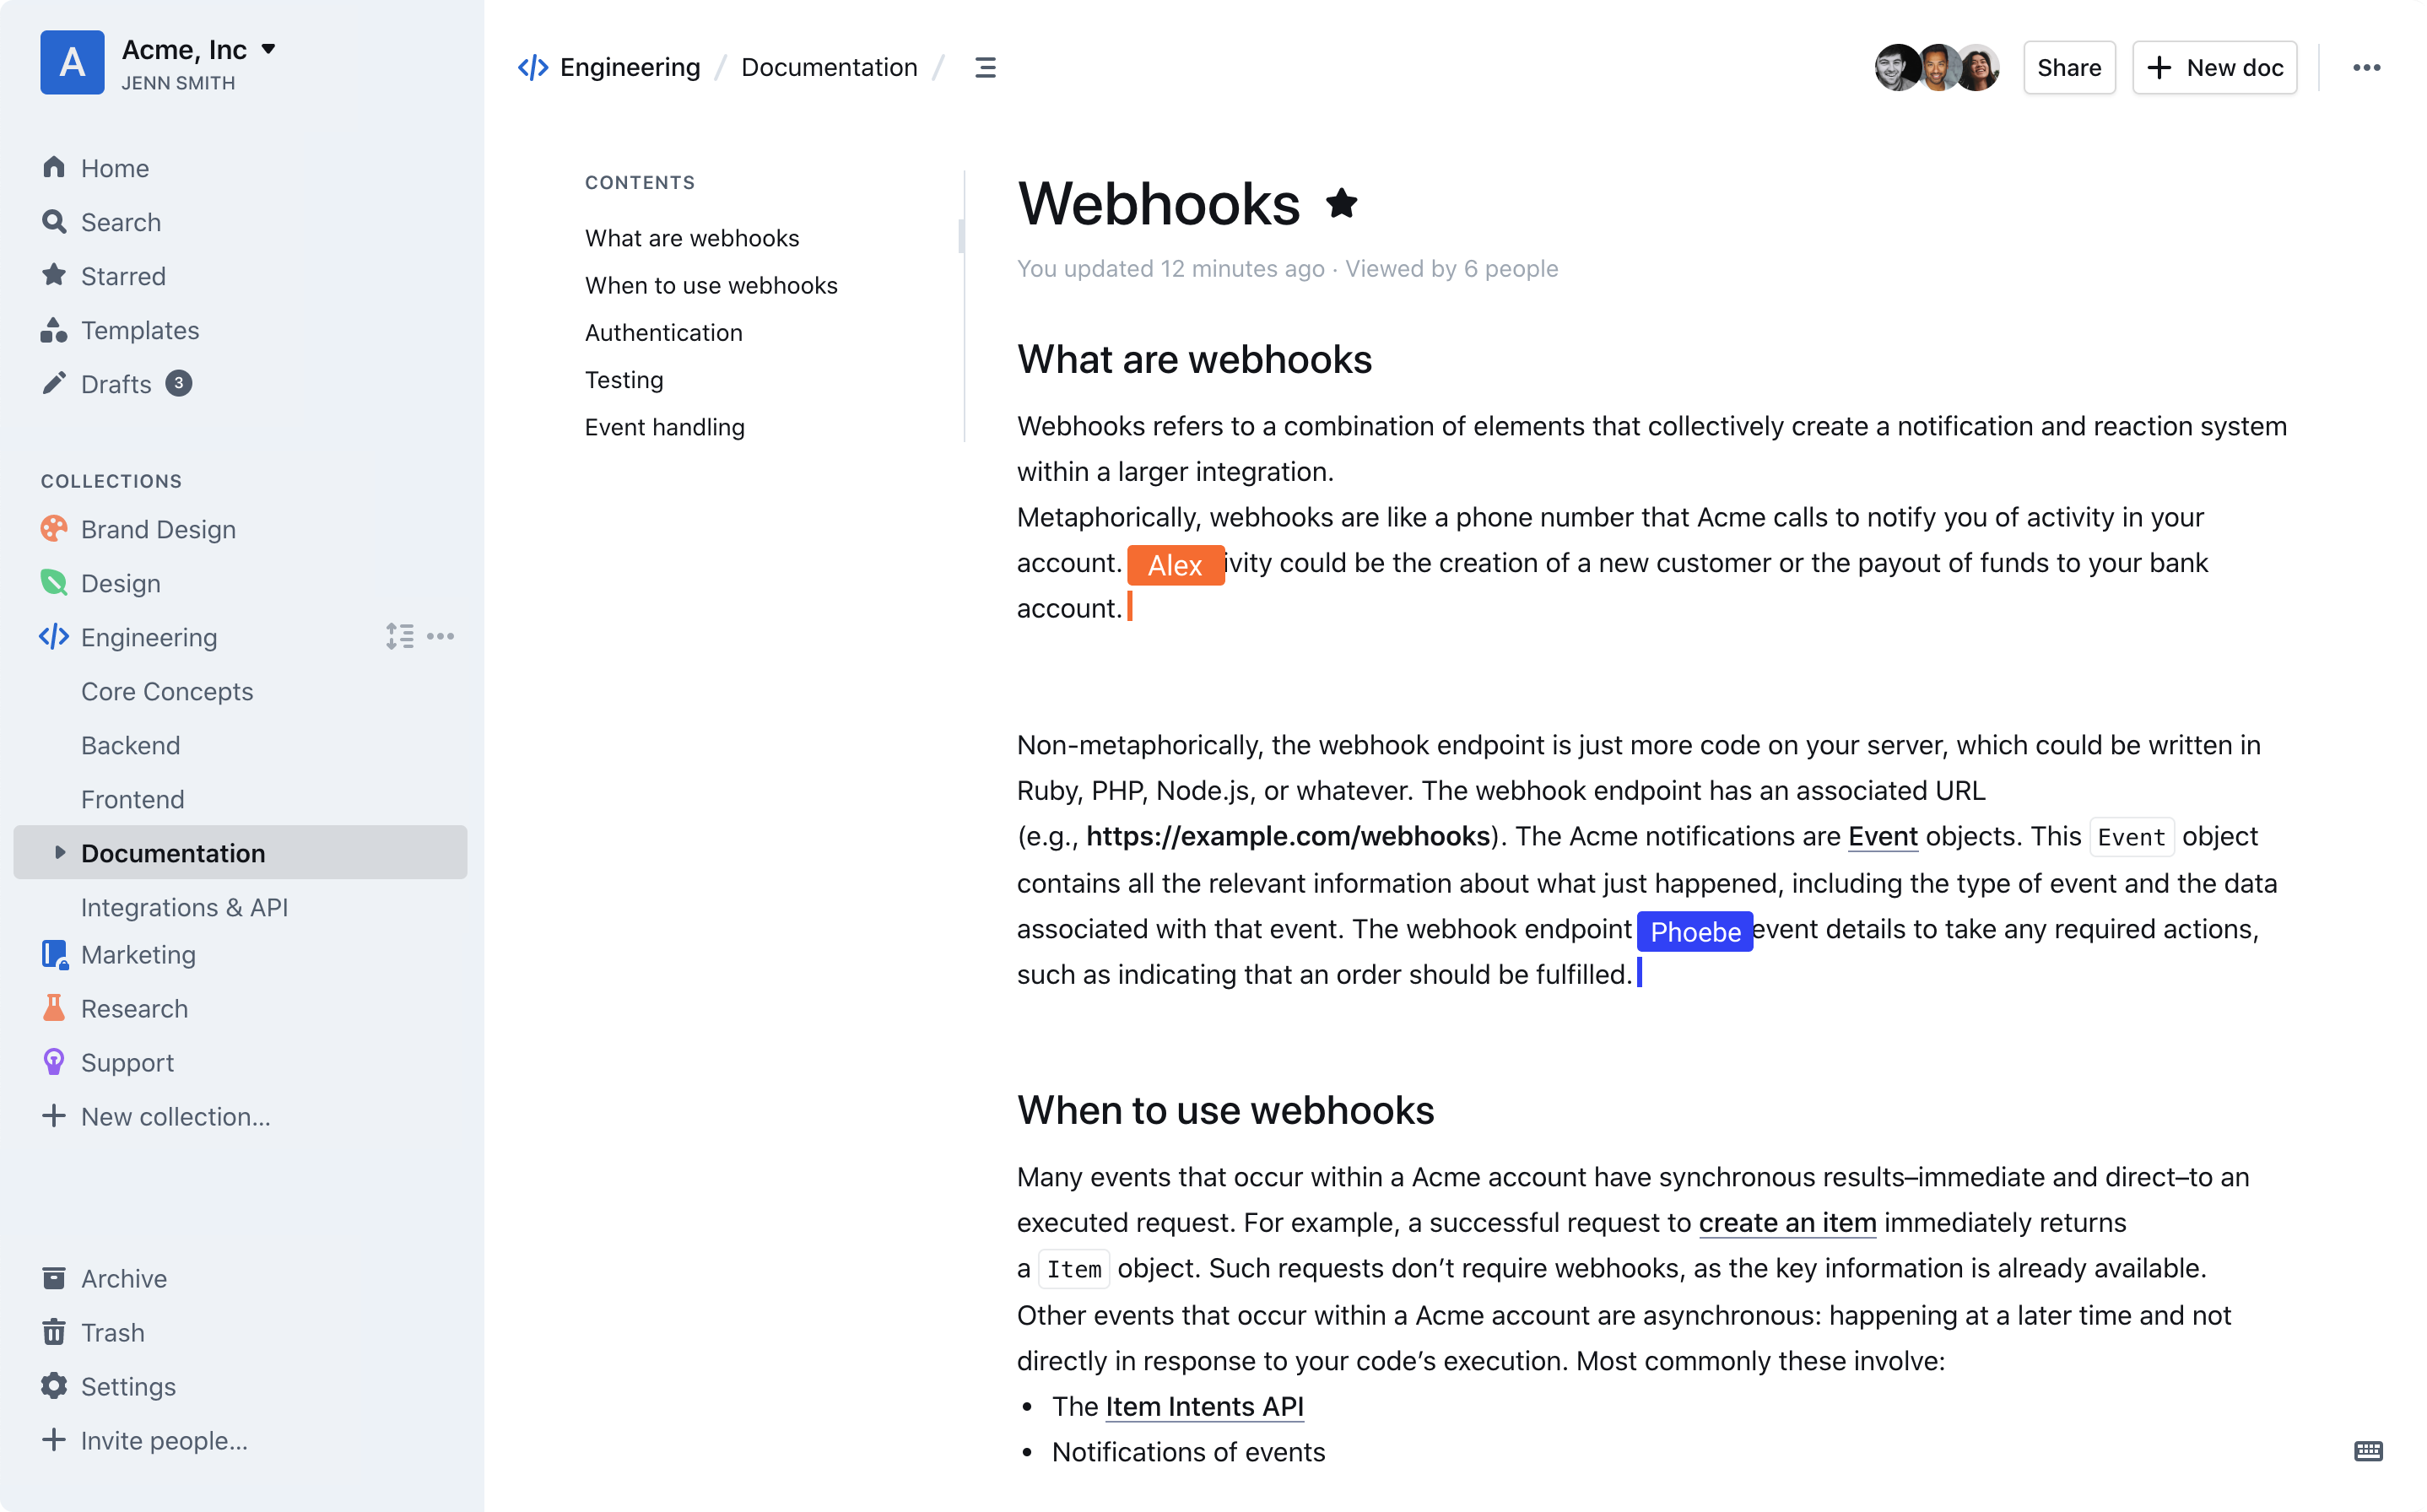
Outline是一款类似于Notion的笔记本/团队协作Wiki软件。因为Outline在一开始就面向的团队协作,所以这款应用部署异常的难!
阅读这篇文章之前,先假设你懂域名,会折腾服务器,会一些基础的服务器运维。
另外,Web前端的反向代理是用的lucky,NGINX用户自行转换配置文件。
快速部署用到这个Github的资源,作者很久没有更新了,但是能够正常部署成功!
下面我们就开始吧!
在飞牛上创建相关的目录,根据自己的目录进行调整,我使用/vol1/1000/APP/outline 目录进行安装!记得使用root用户进行安装!记得安装前进行快照哦!
#1、初始化配置(git资源)
cd /vol1/1000/APP/outline
git clone https://github.com/vicalloy/outline-docker-compose.git
cd outline-docker-compose
cp scripts/config.sh.sample scripts/config.sh
#2、修改config.sh配置文件
# Outline Wiki 0.72.0-1 supports local file storage.
# Specify what storage system to use. Possible value is one of "s3" or "local".
# For "local", the avatar images and document attachments will be saved on local disk.
FILE_STORAGE=local
# The url used to vist this web site.
URL=https://xxx.com:8888 #外网反代访问时需要这样设置
#URL=http://192.168.88.89:8888 #正常内网使用添加内网地址即可
# The default interface language. See translate.getoutline.com for a list of
# available language codes and their rough percentage translated.
DEFAULT_LANGUAGE=zh_CN
# https://docs.djangoproject.com/en/2.2/ref/settings/#language-code
LANGUAGE_CODE=en-us
# https://en.**.org/wiki/List_of_tz_database_time_zones
TIME_ZONE=Asia/Shanghai
FORCE_HTTPS=false
# The domain in you email.
# Comma separated list of domains to be allowed (optional).
# If not set, the first user's domain is allowed by default.
ALLOWED_DOMAINS=xxx.com #账号绑定的邮箱域,不然无法访问!!

# Docker image version
OUTLINE_VERSION=latest  #版本自行修改,可以在此修改,也可以在另外的配置文件中修改,
POSTGRES_VERSION=15.2-alpine3.17
MINIO_VERSION=latest
MINIO_MC_VERSION=latest

# Nginx
# The nginx bind ip and port.
# If you use ip address to access outline, this ip and port should be same as the URL.
# If this server behind a proxy(nginx), you can bind to `127.0.0.1`.
HTTP_IP=192.168.88.89 #这里要和上面修改的IP地址一致!
HTTP_PORT_IP=8888

# Docker
# If you server behind a proxy(nginx), and the proxy created by docker. You can use the proxy's network. Set the `NETWORKS` to proxy's network name, and set `NETWORKS_EXTERNAL` to `true` .
# The sample config for host nginx can be find in `config/sample/nginx_outline.conf`.
NETWORKS=outlinewiki
NETWORKS_EXTERNAL=false

# Secret keys, update by script.
# You shouldn't edit it.#这些密钥脚本是自动生成的可以无视,或者自行生成新的密钥!!
MINIO_ACCESS_KEY=96d18838f8650db9
MINIO_SECRET_KEY=ad86f3202c2daa8a1945949e9eb7be5a783d1f218628e5c6cb5f1a06681ab337
OIDC_CLIENT_SECRET=ad86f3202c2daa8a1945949e9eb7be5a783d1f218628e5c6cb5f1a06681ab337
OUTLINE_SECRET_KEY=90e1b8e2dc40b4f0902f0b9f3f11a2c812c42d50ab7b838a174e0fdd49243b61
OUTLINE_UTILS_SECRET=8492d759f83386889862cb48f04b15efcb8e284ece84482e7510d04872543bc1
DJANGO_SECRET_KEY=12ca49fdcedc90e91938c9b8f586dd9a44c7a23902f16145164023627bc783ba
URL需要填写客户端真实的访问地址+端口,如域名需填写域名
记得把xxx.com换成自己的域名哦!
HTTP信息为outline容器映射的外部IP和端口,配置映射至docker compose文件中的ports配置中
#3**、修改docker compose文件**
version: "3"
services:
  wk-redis:
    image: redis:latest
    restart: always
    networks:
      - ${NETWORKS}
  wk-postgres:
    image: postgres:${POSTGRES_VERSION}
    environment:
      POSTGRES_USER: user
      POSTGRES_PASSWORD: pass
      POSTGRES_DB: outline
    volumes:
      - ./data/pgdata:/var/lib/postgresql/data
    restart: always
    networks:
      - ${NETWORKS}
##BEGIN MINIO
  wk-minio:
    image: minio/minio:${MINIO_VERSION}
    volumes:
      - ./data/minio_root:/minio_root:z
      - ./data/certs:/root/.minio/certs:z
    command: "minio server /minio_root"
    env_file:
      - ./env.minio
    restart: always
    networks:
      - ${NETWORKS}
  wk-createbuckets:
    image: minio/mc:${MINIO_MC_VERSION}
    depends_on:
      - wk-minio
    env_file:
      - ./env.minio
    entrypoint: >
      /bin/sh -c "
      until (/usr/bin/mc config host add minio http://wk-minio:9000 ${MINIO_ACCESS_KEY} ${MINIO_SECRET_KEY}) do echo '...waiting...' && sleep 1; done;
      /usr/bin/mc mb minio/outline-bucket;
      /usr/bin/mc anonymous set download minio/outline-bucket;
      exit 0;
      "
    networks:
      - ${NETWORKS}
##END
  wk-outline:
    image: outlinewiki/outline:${OUTLINE_VERSION}
    command: sh -c "yarn db:migrate --env production-ssl-disabled && yarn start"
    environment:
      - DATABASE_URL=postgres://user:pass@wk-postgres:5432/outline
      - DATABASE_URL_TEST=postgres://user:pass@wk-postgres:5432/outline-test
      - REDIS_URL=redis://wk-redis:6379
      - AWS_S3_UPLOAD_BUCKET_NAME=outline-bucket
    env_file:
      - ./env.outline
      - ./env.oidc
    volumes:
      - ./data/outline:/var/lib/outline/data
    user: 0:0 // 增加配置信息
    restart: always
    depends_on:
      - wk-postgres
      - wk-redis
##BEGIN MINIO
      - wk-minio
##END
    networks:
      - ${NETWORKS}
  wk-oidc-server:
    image: vicalloy/oidc-server
    volumes:
      - ./config/uc/fixtures:/app/oidc_server/fixtures:z
      - ./data/uc/db:/app/db:z
      - ./data/uc/static_root:/app/static_root:z
    restart: always
    env_file:
      - ./env.oidc-server
    networks:
      - ${NETWORKS}
  wk-nginx:
    image: nginx
    ports:
      - ${HTTP_IP}:${HTTP_PORT_IP}:80
    volumes:
      - ./config/nginx/:/etc/nginx/conf.d/:ro
      - ./data/uc/static_root:/uc/static_root:ro
    restart: always
    depends_on:
##BEGIN MINIO
      - wk-minio
##END
      - wk-outline
      - wk-oidc-server
    networks:
      - ${NETWORKS}
networks:
  ${NETWORKS}:
    external: ${NETWORKS_EXTERNAL}
这里可以根据自己的需求进行调整,其他没有什么需要交代的!
#4**、安装**
cd /vol1/1000/APP/outline/outline-docker-compose
make
make install
安装的时候根据提示进行输入即可,用户名,邮箱,密码
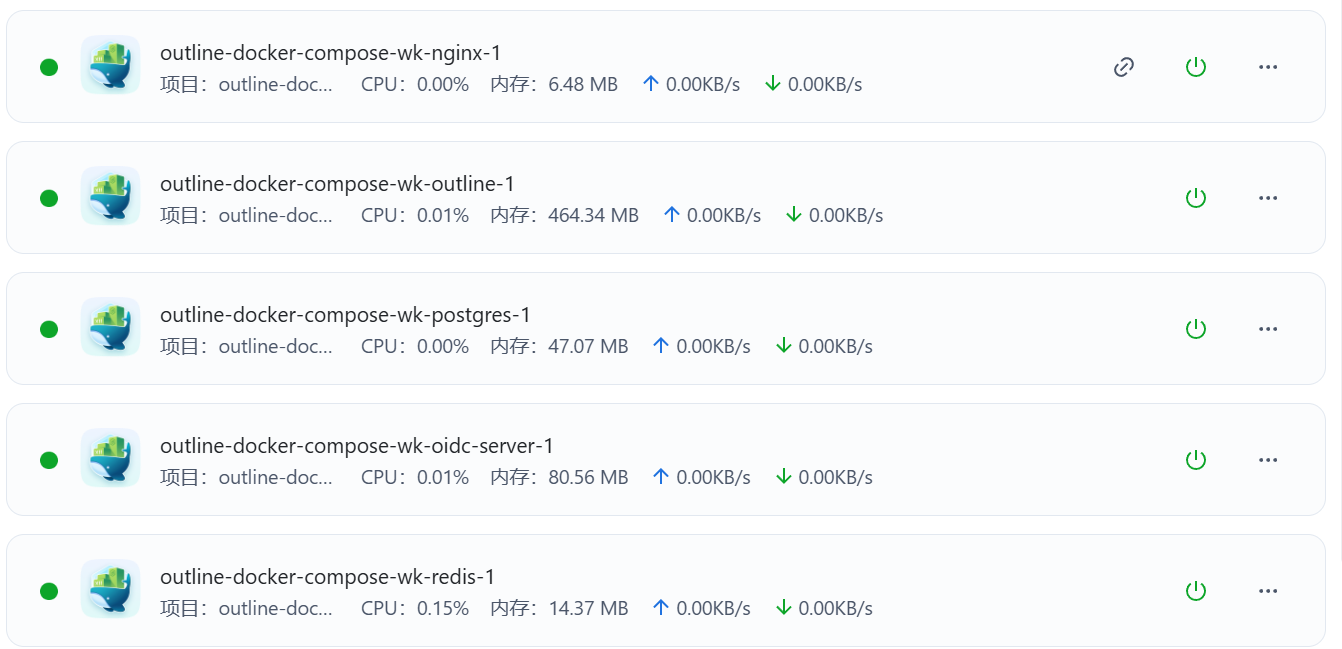
其他命令,当然在飞牛docker中也可以看到!
make start         启动outline所有docker镜像
make stop          停止outline所有docker镜像
make restart       重启outline所有docker镜像
make clean         清除所有通过脚本生成的配置文件
make clean-data    ⚠️ 清除所有数据
make clean-docker  清除docker容器
make clean-conf    清除配置文件
记得安装完成后运行一下make start ,第一次启动比较慢,稍微等几分钟,或者查看飞牛docker中对应的容器是否完成启动!
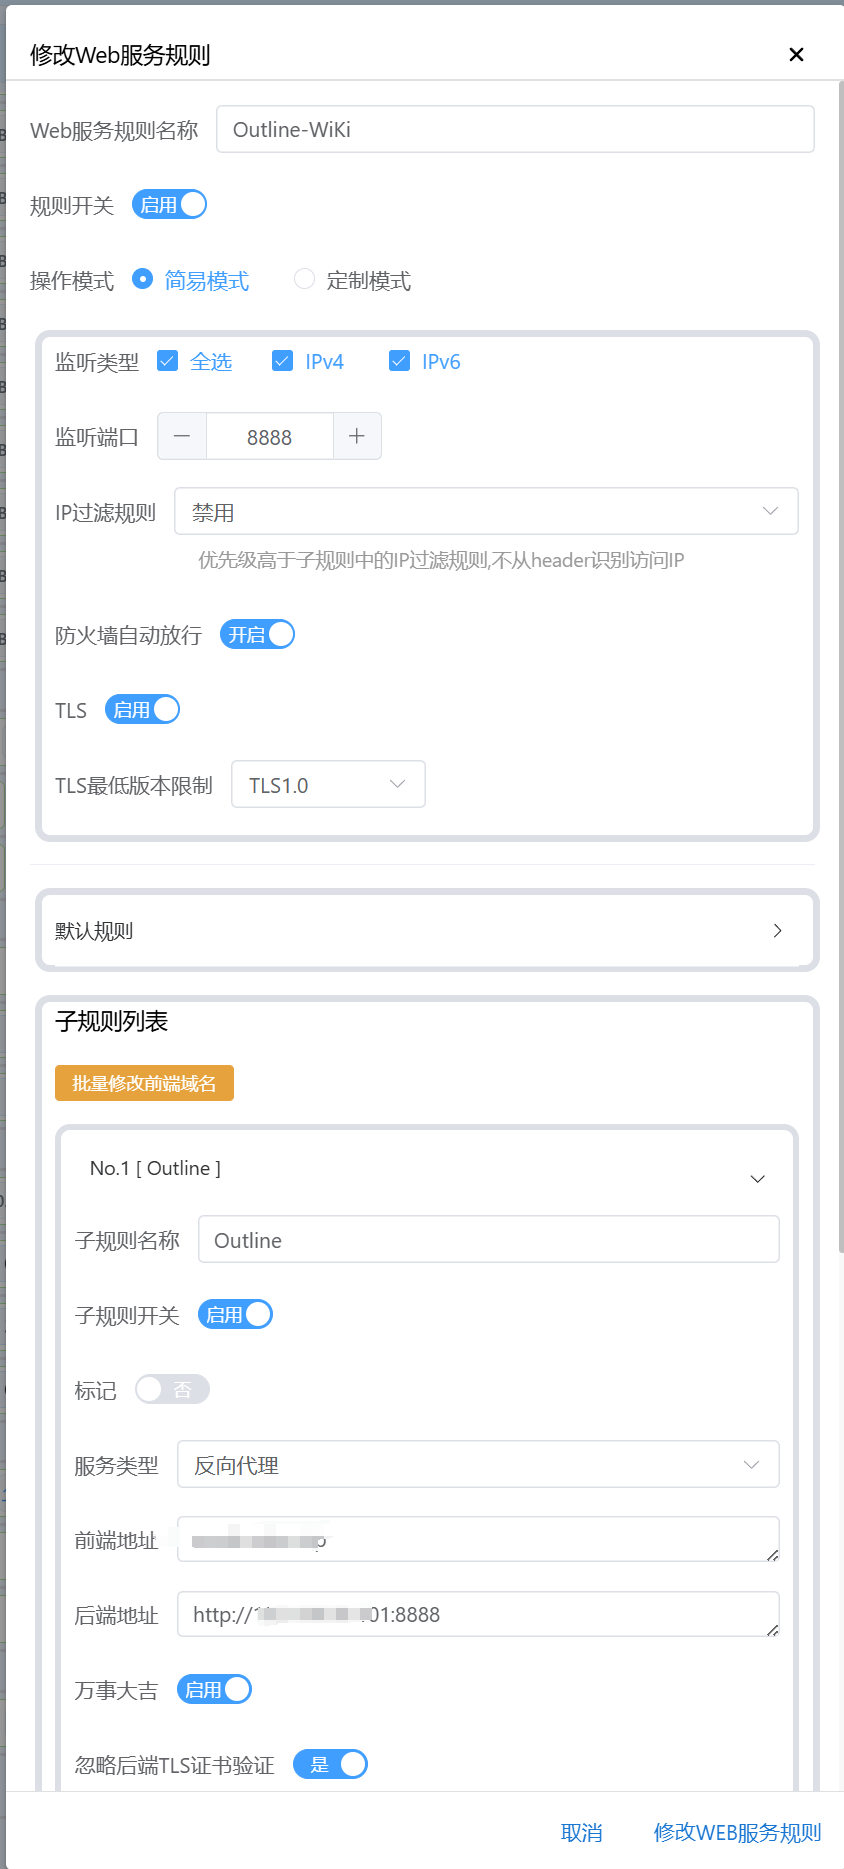
#5、外网访问Outline
config.sh 配置文件URL=https://xxx.com:端口
反代如果是同一个端口只需要一条记录就行,如果外网和内网的端口不一致时候,需要反代2条记录
URL=参数使用外网地址的时候,HTTP_IP= 参数填内网地址,记得这2个地址的端口最好设置一致,这样通过lucky进行反代的时候只需要设置一条就可以了!

无法上传文件,需要给宿主机的Outline目录给权限  /vol1/1000/APP/outline/outline-docker-compose/data/outline (根据自己设置的目录进行设置)
chmod -R 777 对应的宿主机目录

#6、访问地址
内网:
管理端:http://192.168.88.89:8888/uc/
用户端:http://192.168.88.89:8888
外网:记得把xxx.com换成自己的域名哦!
管理端:https://xxx.com:8888/uc/
用户端:https://xxx.com:8888
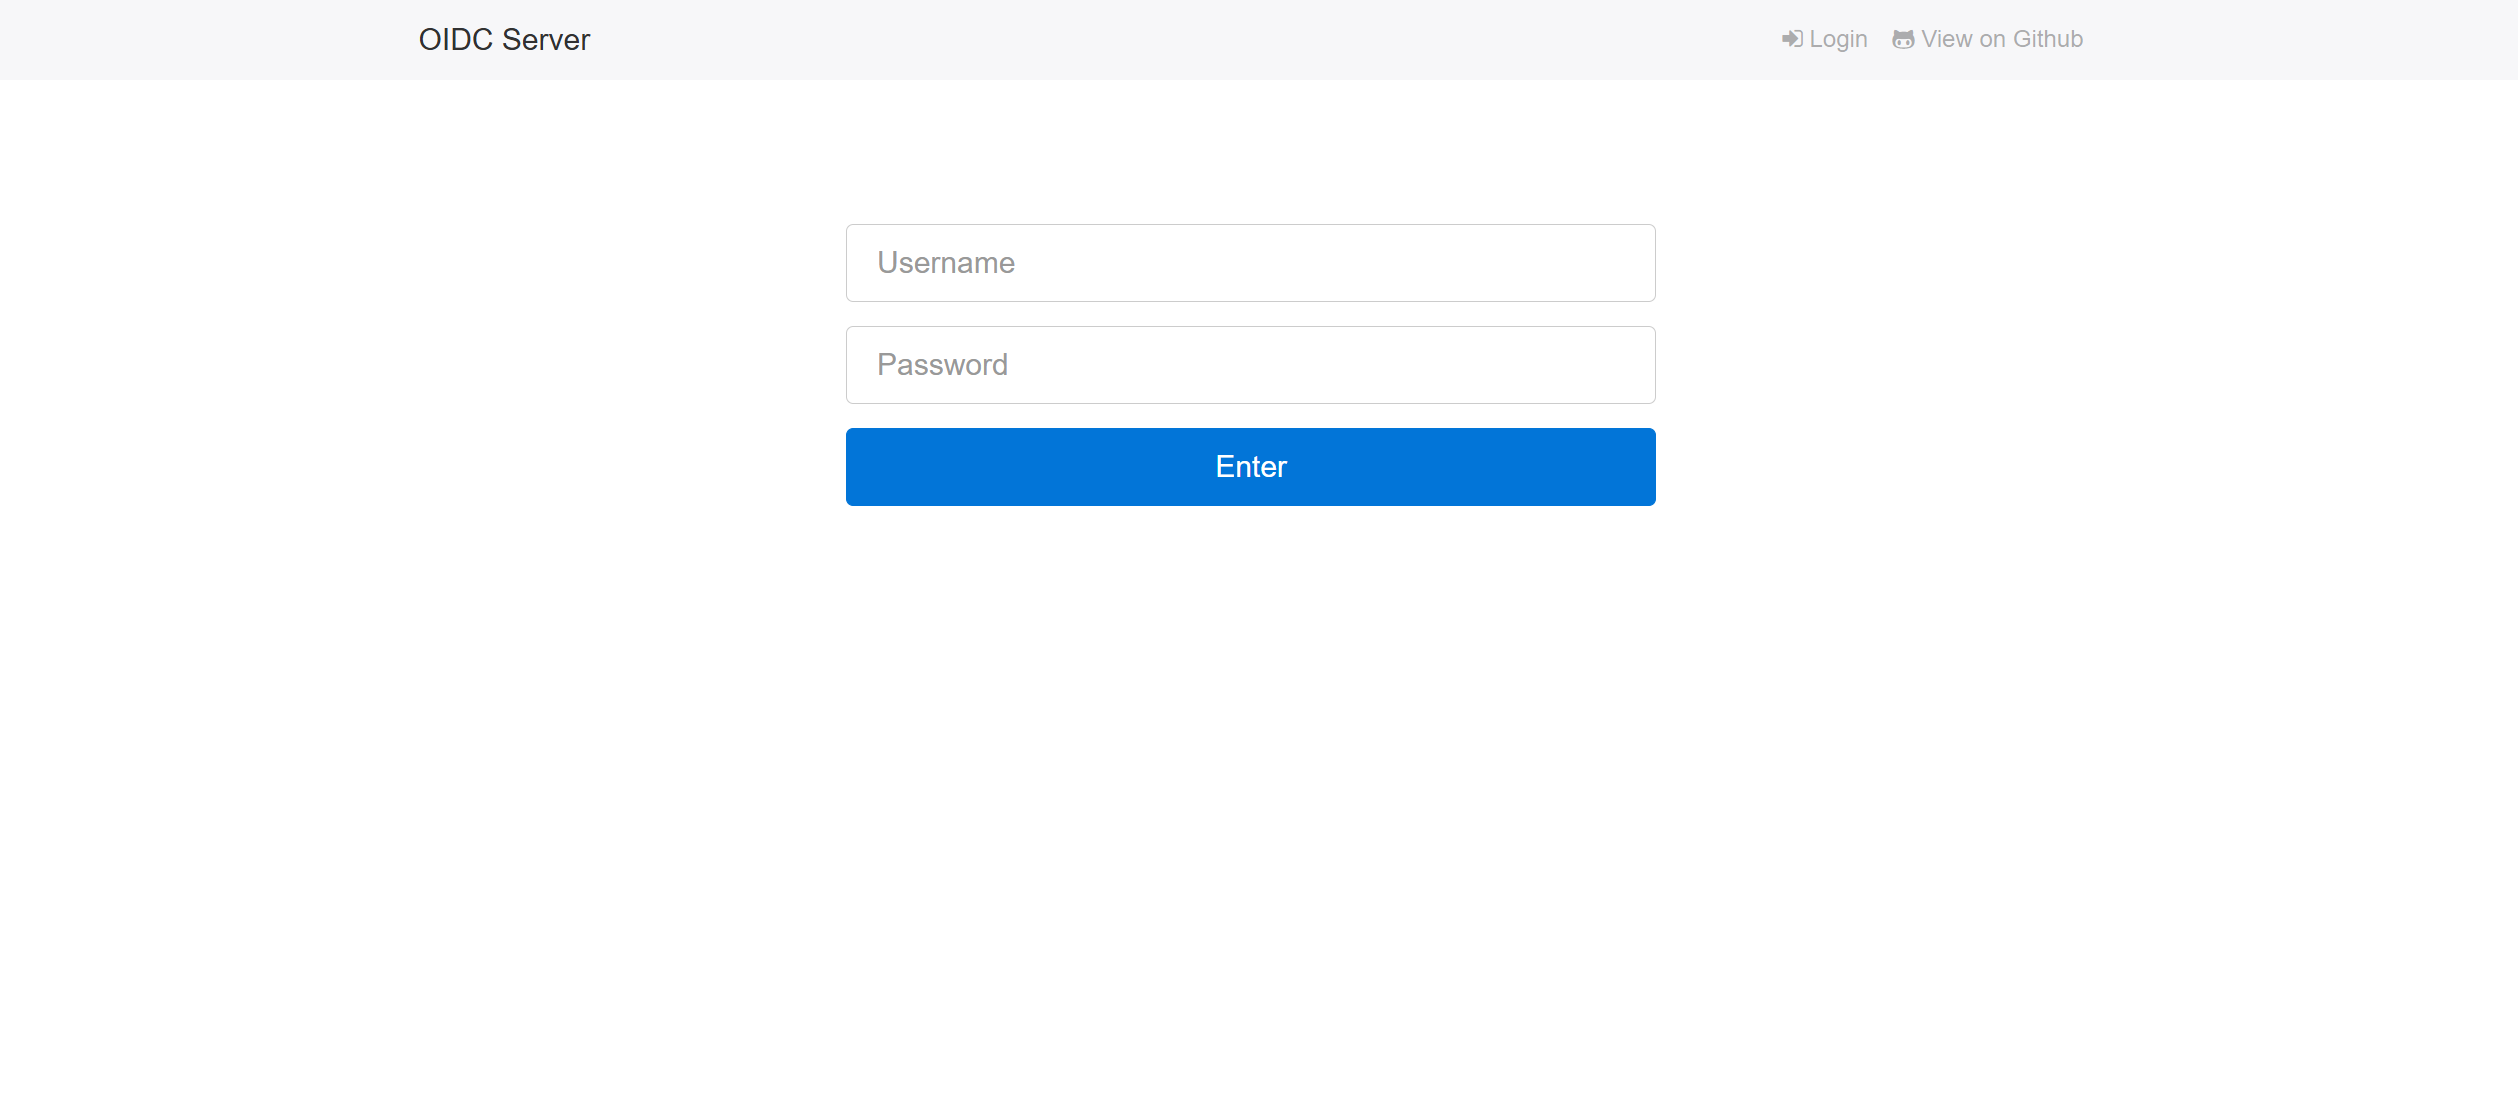
通过用户端打开网页,登录刚刚安装时候设置的账号密码即可以跳转到Outline页面!
